| 230 mm thick brickwork with fps bricks in 1:6 cement mortar in English or Flemish bond | 200 mm Thick Brickwork with Modular Bricks in 1:6 Cement Mortar in CBRI Bond | ||
|---|---|---|---|
| This walling system is very commonly used. Handmade and fired bricks of size about 224x114x70mm with a "frog" are used with 1:6 cement mortar to construct walls using the traditional Flemish or English bond. Handmade bricks have compressive strengths about 100 kg/cm2. Each course is about 75 mm and the wall thickness is 230 mm. Walls are finished with a 12 mm thick plaster on its smooth side and a 15 mm thick plaster on its rough side. Bricks are normally of two types one is traditional (fps) and modular. The fps bricks vary from 21 to 25cm in length, 10 to 13cm in width and 7.5cm in height in different parts of the country. The communally adopted nominal size of traditional brick is 23x11.4x76mm. With a view to achieve manufacture of uniform size of bricks all over the country, BIS has established standard size for brick. Such a brick is known as modular brick. The nominal size of this brick is 20x10x10cm where as the actual dimension are 19x9x9cm) |
Modular bricks have a size of 190x90x90 mm. Thus, a brick wall constructed with this type of brick would conserve precious space when built and produce a lighter wall. The lighter wall will provide economy in foundation design. For every 300mm of wall height with modular bricks only three courses of mortar are used compared to four courses of mortar in the conventional fps brick. Thus, there is saving in mortar. Contrary to the accepted thinking that it involves less consumption of clay and coal, it has been recorded by manufacturers that these bricks require twice the normal level of fuel for firing evenly due to their bulk. For the purpose of this analysis, modular brick walls have been considered to have an exposed external face with pointing and 15mm thick plaster on the internal face. | ||
| 190 mm Thick Brickwork with FBS Bricks in 1:6 Cement Mortar in CBRI Bonad | 115 mm Thick waffle wall with FBS Bricks in 1:4 cement Mortar | ||
| Load bearing walls upto two storeys can be constructed with fps bricks to develop a wall 190mm thick. Parallel courses of brick are laid on their face as well as edge for a height of 230 mm. This forms one course in this case as far as breaking of joints or perpends within the wall is concerned. Corners and junctions are constructed to break the joint. The allowable basic stress for this wall is reduced to 85% on account of the reduced wall section. This system ensures saving on the material component. However, it is reported that there is no saving in the labour component as compared to the conventional brick wall. Both faces of the wall being smooth, the plaster thickness can be limited to 12mm on both faces. | In this system, sections of wall are made 115mm thick and interspersed with 230 x 230 mm bricks piers. The Piers act as stiffeners and the waffle shape adds stability to the wall. Due to its reduced wall cross section and the resultant slenderness ratio only double storeyed construction is possible with this walling system. The system has been used in housing projects by development authorities of UP. | ||
| 230 mm Thick Brickwork with FBS BricksBricks I 2:2:12 Cement Lime Mortar | |||
| The rat-trap bond was invented and popularised the famous architect Laurie Baker. This system uses bricks-on-edge with a cavity behind every facer brick. Each course of brickwork is 115mm high, comprising of two parallel facers followed by brick placed at 90o to lock the bond. In the next course, the vertical mortar joints are broken by spanning the cavity at its centre with the locking brick. T and L junctions are made solid by filling the cavity with a brick-on-edge. Horizontal courses of brick-on-edge may be taken below the damp proof course (DPC), or at lintel and roof levels to provide horizontal tying. For every 230mm height of brickwork, there is a saving of one layer of mortar. It goes without saying that every three bricks laid saves one brick in this bond. This bond shows better performance against flexure as against the conventional brick wall. This is due to the fact that the through brick in this bond is laid on edge and hence action is against a 115mm depth instead of a 75mm depth. Thus, its overall performance is comparable to conventional bond work considering the cavity in the wall. For the system of external rendering the normal practice adopted is to keep the internal face of the wall smooth which can take a coat of 12mm plaster. The external header face is plastered so that the surface is finished in line with the stretcher face, which is left exposed. Thus the inner surface is protected from damp. (The brick work in rat-trap bond is a cost-effective option and is being used in several affordable housing projects by government and public agencies) |
|||
| RAT TRAP BOND BRICK WALL | |||
| System Components | Initial Cost Structure | Design Example : Wall For A Two Storeyed Building With Rcc Roof | |
 |
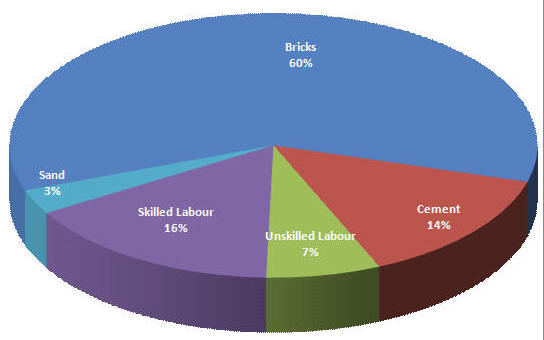 Local Economy Component = 23% Local Economy Component = 23% 23 mm thick load bearing wall in rat trap bond brick masonry using cement mortar (1:6) and class I bricks |
Load on the Wall = 40KN Length of the Wall =3m One end continuous and the other end discontinuous Effective length = 0.9 x 3 = 2.7m (Table 5 : Section VI : 4 NBC) Thickness of the wall = 0.23m Effective thickness = 0.15m (Table 6 : Section VI : 4 NBC) Height of wall = 3m Effective height of wall = 0.75 x 3 = 2.25 (since roof is RCC) Area of cross section = 3 x 0.15 = 0.45 sqm Slenderness ratio = Min (2.25/.15,2/7/.15) = 15 Stress reduction factor = .78 (Table 8: Section VI : 4 NBC) Compressive stress = 44/.9 = 0.1 N/sqmm. Permissible compressive stress = 0.273 N/sqmm Hence Safe at 23 cm thickness |
 |
| Critical Factors | Tools Used | DO'S | DON'T'S |
|
1.Curing 2. Quality of Bricks 3. Not used for buildings having more than two floors 4. Quality of sand 5. Availability of skilled mason |
1. Trowels 2. Plumb bob 3. Thread 4. Pans 5. Shovel 6. Baskets | 1. Curing should be done for seven days 2. Cavity should be broken after six layers 3. Brick should be completely soaked in water before using for masonry 4. Mortar should be used within 30 minutes of adding water to the mix 5. Brick bats should be used at corners and T - Junctions |
1. Find sand should not be used for masonry 2. Mortar should not be left in cavities |
| Construction Process | |||
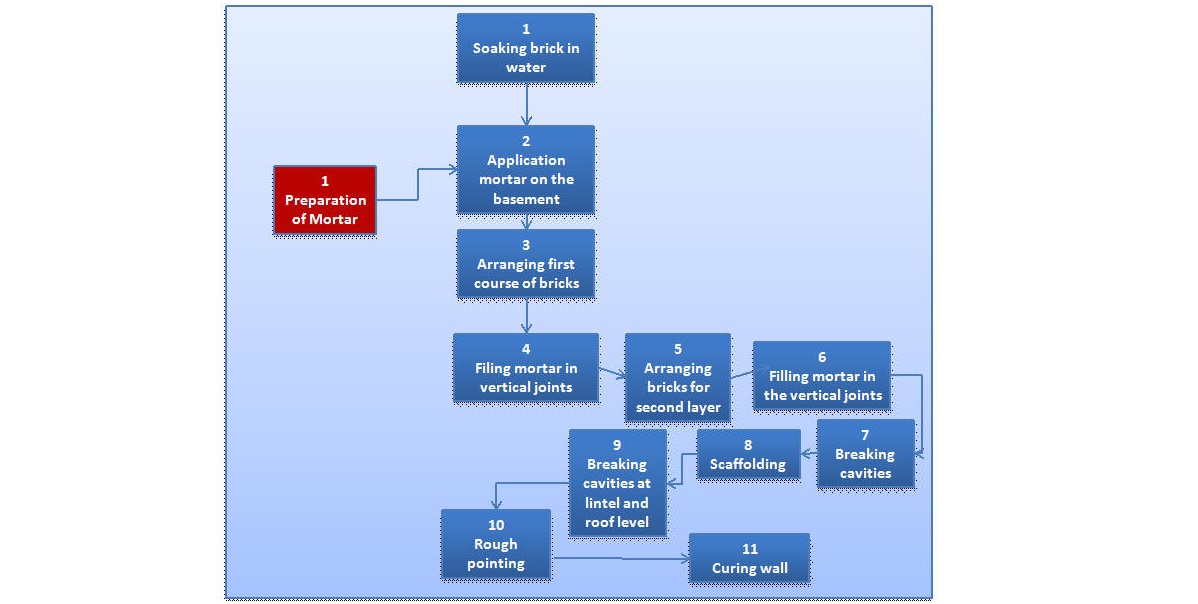 |
|||
| FLY-ASH BLOCK MASONRY | |||
| System Components | Initial Cost Structure | Critical Factors | Tools Used |
 |
 |
1.Curing 2. Placing the corner blocks at the corner and openings 3. Quality of sand 4. Availability of fly-ash near the block making site |
1.Trowels 2.Plumb Bob 3. Thread 4. Pans 5. Showel 6. Baskets |
| DO'S | DON'T'S | ||
|
1.Blocks should be cured for 14 days and the masonry for seven days 2. Vertical joints in masonry should be properly broken 3. Blocks should be well soaked in water before using for masonry 4. Mortar should be used within 30 minute of adding water in the mix. |
1. Find sand should not be used for masonry 2. Masonry should not be allowed to dry quicklys |
||
| Construction Process | |||
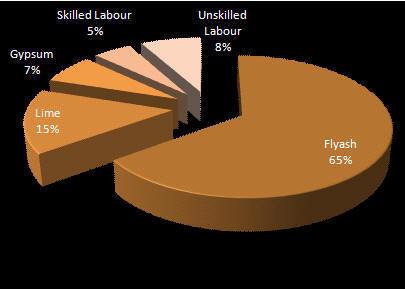
Take measured quantities of Fly-Ash, Lime and gypsum. Add water and mix thoroughly in the mixing machine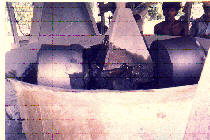  |
Take the mix out thoroughly mixing 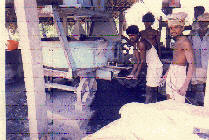 |
Transfer the mix to moulding machine and compact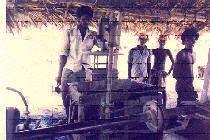 |
Place the wet blocks on open drying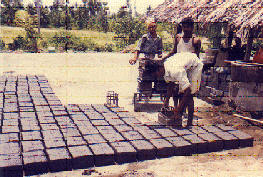 |
Allow blocks to dry for 14 days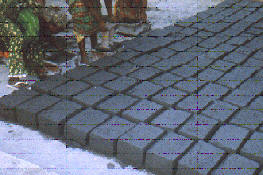 |
Tie the line and lay the first coarse of blocks 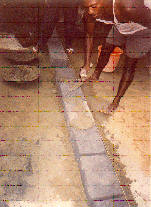 |
Lay the next course by breaking vertical Joint s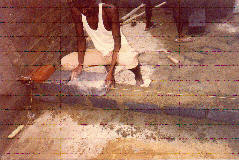 |
Apply cement mortar over the course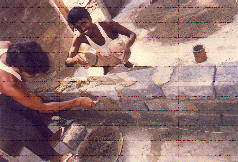 |
Check vertical levelusing plumb bob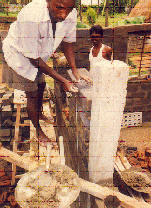 |
Lay upper masonry after leaving openings for doorsand windows 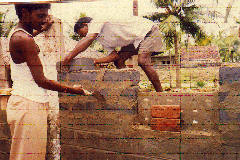 |
Fill Mortar in the vertical joints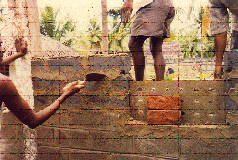 |
Apply mortar in the vertical joints and removing excess mortar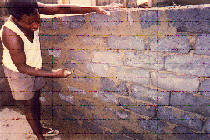 |
Pointing wall surface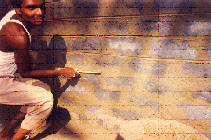 |
A view of a Fly Ash block building 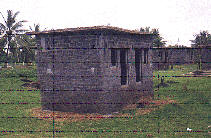 |
||